Cleaning your car
Keeping your vehicle meticulously clean isn’t just about visual appeal. Proper car cleaning techniques are crucial to maintaining your car’s value and the longevity of its exterior. Dirt, debris, and environmental residues can all cause damage and diminish the quality of your car’s paint over time if left unaddressed. Of course a correction detail or machine polishing can address swirl mark or contamination, restoring your car’s shine and smoothness. However, it’s important to note that these processes involve removing a small layer of your car’s clear coat to level the surface. While incredibly effective, frequent use of such methods is generally not recommended. Repeatedly removing clear coat can thin the paint, potentially leading to decreased protection from the elements, increased susceptibility to future damage, and even affecting the resale value of your car. Not only that, it will cost you more in the long run in detailing costs.
So the bottom line is, by maintaining a good wash/clean regime, you can avoid unnecessary detailing saving you money and keeping your paintwork in better condition long term.
While you might think of car cleaning as a straightforward process, there’s an art to doing it correctly and safely. This article will detail the techniques you need to wash your car safely while preventing scratches, swirls, and other subtle damage to your paintwork that will build up over time. Additionally, we’ll tackle stubborn issues like water spots, ensuring your car emerges from each wash with a stunning, residue-free finish.
Products are also important in car cleaning, using products that are safe but also aggressive enough to get the job done, it can be a minefield choosing which range to choose. Throughout our guide we have included links to some of the products we use in each stage of cleaning, these are all from the Car Gods car care range that we use exclusively and stock in our shop. If you want to see any of them in action, we’d be happy to show you at the MAD workshop and showroom where we carry out all of our detailing work.
Snow FOam – Pre Wash Clean
There are a host of other potential pre wash measures, such as fallout removers, bug and sap removers and pre wash sprays for impact zones or heavily soiled areas for additional dirt loosening power, but for this guide we are going to stick to the less time consuming overall cleaning methods.
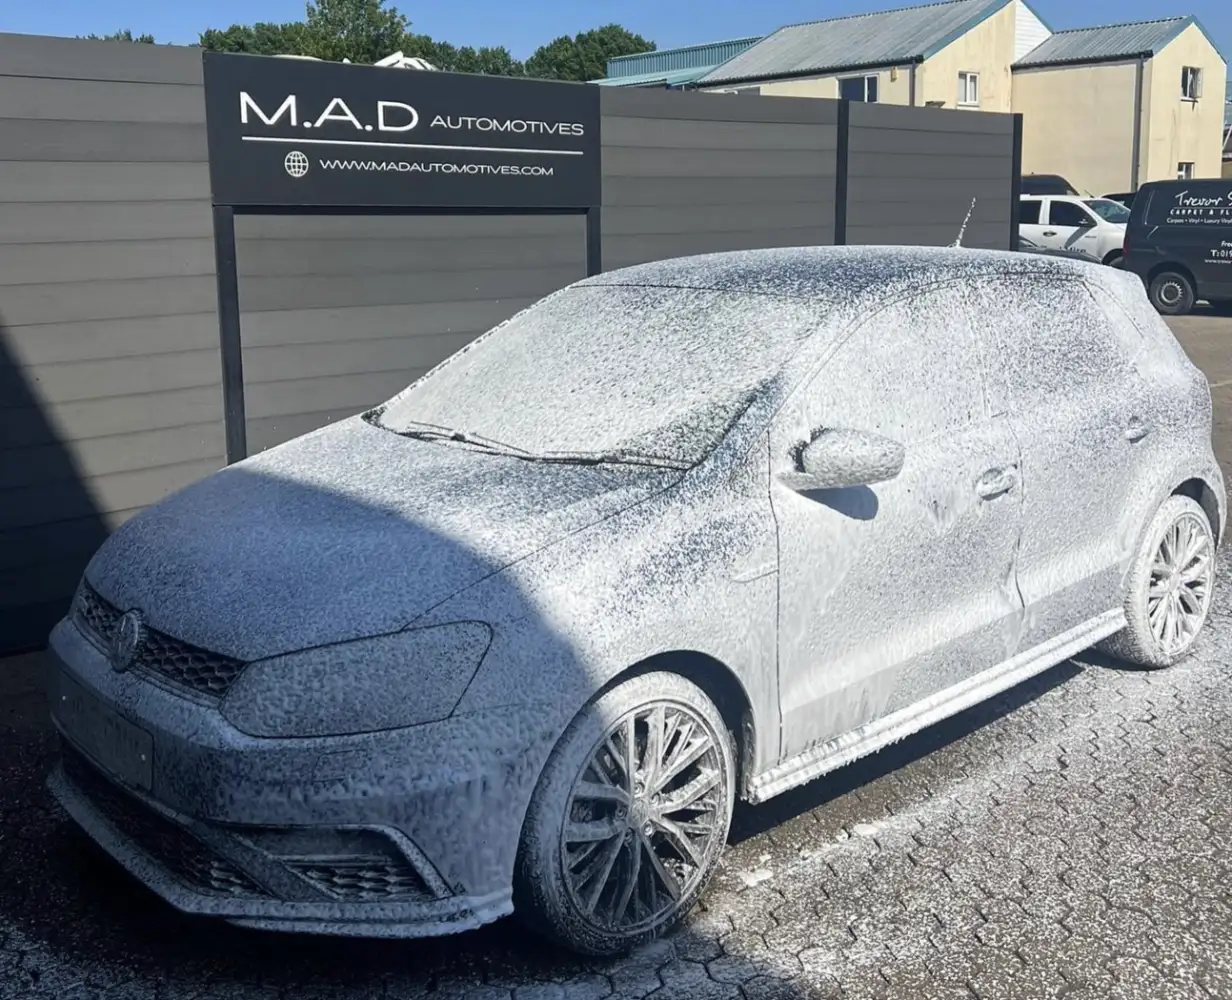
So before you dive straight into scrubbing your car, there’s a secret weapon used by detailers that you can easily incorporate into your routine: snow foam. It’s basically fancy soap that turns into a thick, fluffy layer of foam when you spray it on your dry car.
Think of it like a dirt magnet. The foam clings to all the grime, dust, and even pollen stuck to your car, loosening it up. Then, when you blast it with a pressure washer, most of that nasty stuff rinses right off, without you ever even touching the paint with a sponge!
This is especially important because loose dirt can act like sandpaper during a regular wash, causing those pesky scratches and swirls. This is essentially the same issue we are trying to avoid by using the multi bucket methods above, by pre-washing with snow foam, you significantly reduce the risk of damaging your paintwork while still getting rid of a ton of dirt.
So, next time you wash your car, consider adding a pre-wash with snow foam. It’s a simple step that goes a long way in protecting your car’s finish and keeping it looking its best. There are other methods for applying a pre-wash/snow foam, but the most common is a snow foam cannon, which is a tool that attaches to a pressure washer. This is the best way to get a uniform snow foam application.
For product we always recommend Car Gods, which is what we use in house at MAD and we also stock their full range for our customers. The Car Gods Arctic Storm snow foam is fantastic and does an excellent pre-wash job. Their snow foam cannon is also linked above.


Car Washing Techniques
Maintaining a clean and swirl-free paint finish starts with proper washing techniques. It’s important to note that while using a single bucket for cleaning your car is the most common way people wash their cars, it’s not recommended for maintaining a flawless finish. By this we mean using one bucket with soapy water, where the wash mitt is dipped in, used on the car, and then rinsed back into the same bucket. This cross-contamination means the dirt and debris removed from the car get mixed back into the wash solution, increasing the risk of scratching the paintwork as you continue washing, this is how a lot of the car you see end up with swirk mark and surface scratches that become very obvious under sun light.
So what’s the right way to do it? Here we’ll delve into three popular methods and the benefits of adding a grit guard:
The 2-Bucket Wash Method
This is the foundation for safe car washing. It utilises two buckets: one filled with car wash shampoo and warm water (wash bucket), and the other solely with clean, plain water (rinse bucket). You dip your wash mitt into the soap solution, wash a section of the car, then rinse it thoroughly in the clean water before returning to the wash bucket. This prevents reintroducing dirt and debris back onto the paint, minimising the risk of scratches and swirls. Simple right!
The 3-Bucket Wash Method
If you want to take things a step further, building on the 2-bucket method, this technique introduces a dedicated bucket specifically for cleaning your wheels. Wheels are often heavily soiled with brake dust and road grime, and using a separate bucket with clean water ensures you’re not contaminating the wash solution used for the rest of the car.
Using a Grit Guard
This is a plastic insert placed at the bottom of your wash or rinse bucket. It features ridges and a central well that trap dirt and debris, preventing them from settling back into the water and potentially scratching the paintwork. While not essential if you are using one of the methods above, a grit guard adds an extra layer of protection during the washing process. If you aren’t dedicated enough to go for the full 2-3 bucket method (shame on you!) then adding a grit guard could be a great investment, as it provides a lot of protection for you without any additional effort.
Can i just use a grit guard with one bucket for everything? If you aren’t dedicated enough to go for the full 2-3 bucket method (shame on you!) then adding a grit guard could be a great investment, as it provides some protection for you without any additional effort. However, while a grit guard will help in a single-bucket scenario, the main drawback is the lack of clean rinse water. As you wash, the grit guard will trap dirt, but the water itself will become increasingly contaminated. This means you’re constantly reintroducing dirty water back onto the car, potentially still causing scratches.
Here at MAD, we go all the way when carry out valeting or detailing, using a grit guard in conjunction with the 2-bucket method at a minimum. If you want to purchase the same equipment we use here, you can buy the Car Gods grit guard and wash buckets in our shop.
Wheel Cleaning
Wheels take a beating on the road, constantly exposed to brake dust, road grime, and other contaminants. Which can be trickier to remove that the dirt you’ll find on your paintwork! Luckily, with proper technique and the right tools, you can keep them looking their best. Here’s a breakdown of the process:
1. Apply wheel cleaner: Choose a pH-neutral wheel cleaner specifically designed for your wheel type (painted, clear-coated, etc.). We use one from our Car Gods Range called Wheel Perfection. Apply the cleaner liberally, ensuring it covers the entire wheel surface, including the barrel, spokes, and tire sidewall (avoid contact with the tire tread). Allow the cleaner to dwell for a few minutes, according to the product instructions, to loosen the dirt and brake dust.
2. Pressure rinse: Once the cleaner has had its time to work, rinse the wheels thoroughly with the pressure washer. Start from the top and work your way down, ensuring all the suds and loosened dirt are washed away.
3. Agitate with brushes: Now comes the scrubbing! Use a dedicated wheel cleaning brush, like the Car Gods Large Barrel Brush, with soft bristles to gently agitate the remaining dirt and grime. The long handle allows for comfortable cleaning, and its flexibility helps reach into the tight spaces between spokes. For stubborn grime, use a smaller detail brush to get into nooks and crannies.
4. Clean the tires: Don’t forget the tires! Use a separate cleaning solution or a mild soap solution to clean the tire sidewall, removing any dirt and road grime. Avoid harsh chemicals, as they can dry out and crack the rubber.
5. Rinse again: Finally, give the wheels and tires a final rinse with clean water to remove any remaining soap residue.
After drying which we’ll get onto next, you can always finish off your wheels with a long-lasting shine, by applying a tire dressing like Car Gods Tyre Serum using a dedicated applicator like the Tyre Trim Applicator for even application.
Drying Your Car – For a Streak & Water Spot Free Finish!
Water Spots After Cleaning
Those pesky water spots that seem to appear out of nowhere after a wash can be a real eyesore. These spots are caused by mineral deposits left behind when water droplets evaporate on your car’s paintwork. The severity of water spotting can vary depending on the hardness of your local water. Areas with hard water have a higher concentration of dissolved minerals like calcium and magnesium, which are the culprits behind those stubborn water spots.
Unfortunately, unless you’re an experienced detailer with access to a water filtration system that removes these minerals, completely eliminating water spots can be challenging. However, thorough drying is the key to minimising their appearance. By diligently removing all water droplets with a clean microfibre towel, the quicker you dry your car, the less time these minerals have to bond with the paint, making them easier to prevent.
How To Dry Your Car
Once you’ve finished washing your car, the final step is crucial to achieving a spotless finish – drying. This is where microfibre towels come into play. These soft, absorbent cloths are specifically designed to safely remove water from your car’s paint without leaving behind streaks or scratches.
Here’s what you need to know about drying with microfibre towels:
Start with a clean towel: Always use a clean, dry microfibre towel for each section of the car. Dirt and debris trapped in a used towel can scratch the paint.
Gently pat or blot: Avoid rubbing the towel back and forth if possible, as this can cause swirls and scratches. Instead, gently pat or blot the water droplets with the towel.
Use a drying aid: Consider using a quick detailer spray or drying aid product after washing. These products help lubricate the surface, making it easier to remove water and leaving a streak-free shine. An example of this is the Car Gods Speed Shine Detailer.
Standard vs. Edgeless Towels: While we offer standard, smaller sized microfibre towels, for even faster drying and a truly luxurious finish, consider using a larger edgeless drying towel. These towels are typically larger and borderless, reducing the risk of accidental contact with scratched edges against the paintwork. Their larger size allows you to cover more surface area , further minimising the chance of introducing swirls.
Admire Your Hard Work
By following these techniques and incorporating the right tools, you can transform your car washing routine from a chore into a rewarding experience that leaves your car looking its absolute best. If you car has previously been detailed and had a wax or ceramic coating applied, you will find following the methods here to carry out a “safer” wash makes your protective coating last longer and stay effective. You can now stand back and look at your shining vehicle and be proud of your efforts! Remember, the key lies in proper washing methods, high-quality tools, and thorough drying.
For those seeking a convenient way to acquire the essentials for your car’s exterior clean regime, car gods offer a comprehensive exterior wash bundle kit that includes everything you need to get started. Of course the deal with the 2+ bucket method, you’ll need another bucket!
So, grab your tools, embrace the process, and enjoy the satisfaction of a clean, protected, and radiant car!

